
Appearance
Branding (White Label)
Branding (called White Label before 10.00) lets you give the Datafor login page and console a consistent identity: your logos, product copy, colors, navigation styling, and selected reports on Home. Use it for the application around your reports; it is not a replacement for designing individual report pages or configuring embedded authentication.
Open the configuration
Sign in with an administrator account and go to Settings › General › Branding. If the entry is unavailable, ask your administrator to check your access and the features available in your deployment.
The page has four configuration areas:
| Area | What it controls |
|---|---|
| Login | Login logo, welcome message, background, form styling, login-option visibility, and footer. |
| Console | Expanded and collapsed logos, Home title and tagline, sidebar, top bar, search box, and help/resource visibility. |
| Sample pages | The report cards in Home > Report templates: titles, images, destinations, order, and opening behavior. |
| Other | Default browser title, interface font, and website icon. |
The screenshots below show the English editor with example values. Image previews and editable values are not proof that branding is active: check the main Enabled / Disabled switch and save your changes.
Enable and save
Before editing an existing configuration, use Export to keep a copy of the saved settings. Export does not capture unsaved form edits.
- Make your changes in the relevant configuration areas. Selecting an image displays a preview; it is saved with the configuration.
- Turn the main switch on when you want to use the custom branding.
- Click Save. The console applies the branding at once, without reloading.
- Check Home and the login page, not just the settings editor.
| Control | Effect |
|---|---|
| Main Enabled / Disabled switch | Chooses whether Datafor uses the custom branding. Changing the switch alone is an unsaved edit. |
| Save | Saves the whole form, including changes in other configuration areas, and applies it to the console. |
Leaving the page with unsaved changes asks whether to save or discard them. Save is not a private draft: with branding enabled, saved changes affect every user. Use a test deployment when preparing a new design.
To stop using custom branding without clearing its values, turn the main switch off and click Save.
Customize the login experience
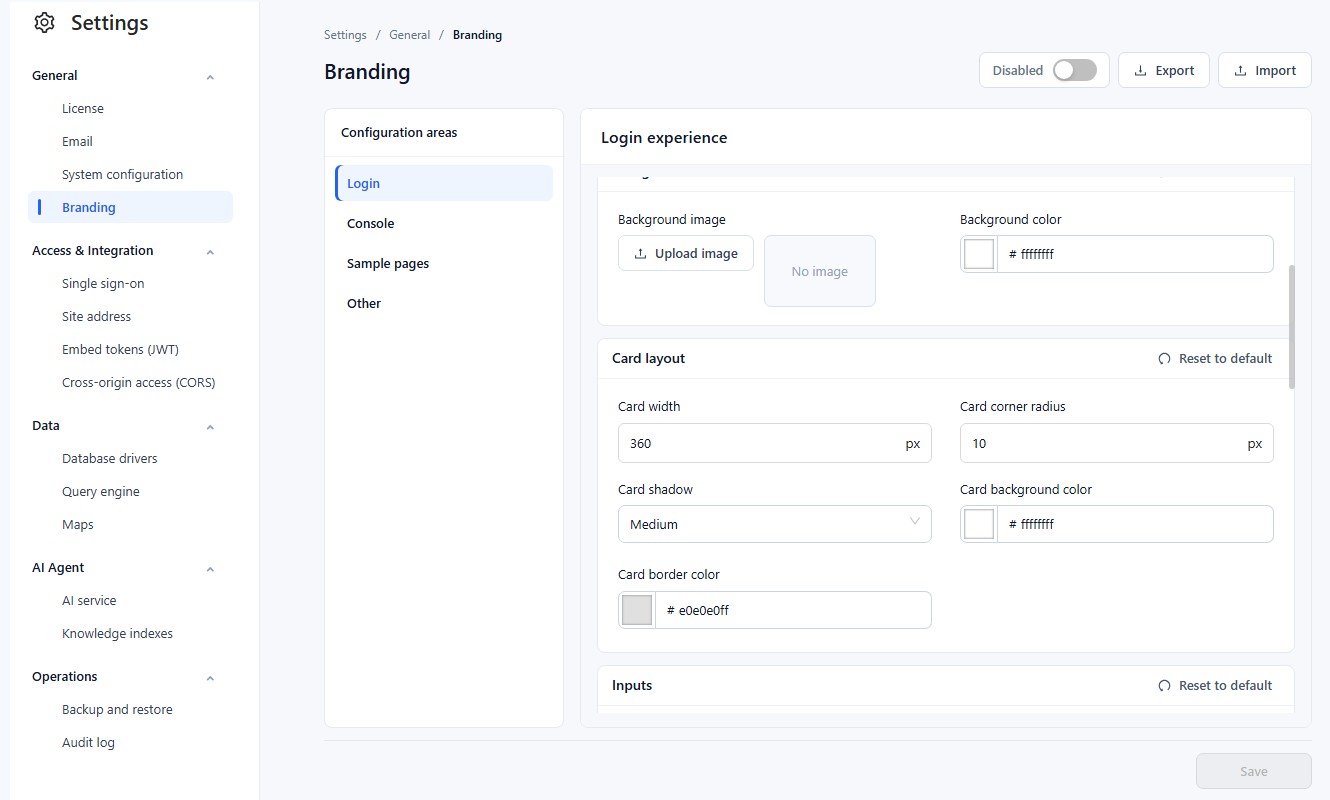
Start with Branding: upload the login logo, set Logo max height, and decide whether to show a welcome message. Use Welcome text for a short greeting such as “Welcome to Northstar Analytics”; it is separate from the console's product name.
The remaining groups control different parts of the page:
- Background sets the page's image and background color. A background image fills the page and may be cropped to fit the screen, so keep essential text out of the image.
- Card layout controls the login card's width, corner radius, shadow, background, and border.
- Inputs controls field corners, borders, focus-ring color, and font size. Keep the focused field easy to identify.
- Buttons controls the primary login button's normal and hover colors, text, corners, and font size.
- Google button controls the Google login button's appearance and visibility. It does not configure the OAuth provider.
- Visibility includes Show 'Remember me', Show 'Sign up', Show 'Forgot password', and Show SSO area.
- Legal sets the footer's Copyright text, Footer link, text color, and font size. The link is attached to the footer text; enter the intended destination, such as your company's legal page.
Only show login options that your deployment supports. The Google button requires Show Google button and Show SSO area to be on, as well as the underlying OAuth login service to be enabled. Turning on a display switch is not sufficient. Verify registration and password recovery end to end before exposing their links. See OAuth2 Authentication for provider configuration.
Prepare suitable images
| Asset | Preparation guidance |
|---|---|
| Login logo | Use PNG. A wide logo around 4.2:1 with a transparent background is a useful starting point; adjust Logo max height to fit the login card. |
| Home page logo | Use a wide PNG, around 4.2:1, for the expanded sidebar. |
| Collapsed logo | Use a square PNG, around 1:1, with a recognizable symbol rather than small text. |
| Website icon | Use ICO at 32 × 32 or 48 × 48 pixels. Configure it under Other. |
| Background and card images | Use browser-compatible images such as PNG or JPEG. Check the actual crop and readability at the intended display size. |
Keep each image 5 MB or smaller. The image picker rejects larger files. These aspect ratios are design recommendations, not mandatory pixel dimensions.
Choose logo colors to contrast with the background you actually configure. A light logo is suitable for a dark sidebar, but can disappear against the default light sidebar. Avoid excessive transparent padding, which makes the visible logo look small even when the image dimensions are large.
Brand the console
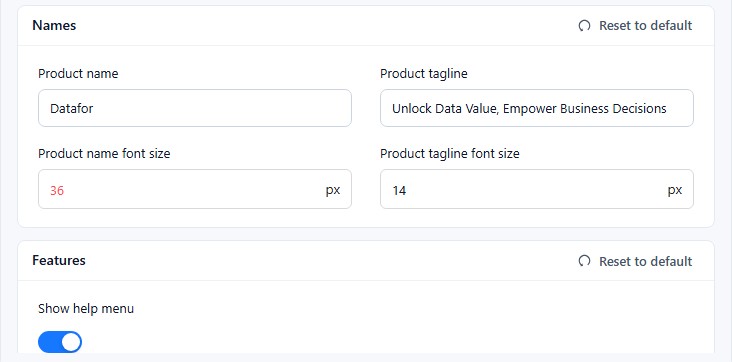
Logos and product copy
In Console > Branding, set Home page logo for the expanded sidebar and Collapsed logo (sidebar) for the compact navigation. Check both states after applying.
In Names, Product name replaces the large heading on Home, and Product tagline supplies the line below it. Their font-size controls affect those Home elements. For example:
- Product name:
Northstar Analytics - Product tagline:
One place to explore sales and operations
This is different from Other > Browser title, which controls the default browser-tab title. Changing a Home heading does not rename reports.
Navigation and feature visibility
Use Sidebar, Top bar, and Search box to coordinate backgrounds, text, icons, active states, and font sizes. Test a selected menu item, a hovered item, and the search placeholder as well as the normal state.
For manual color entry, the field already supplies #. Enter hexadecimal digits, for example 1677ffff: the final ff makes the color fully opaque. Click outside the field to finish editing it.
Features has one switch: Show help menu controls the top-bar help menu. If you hide it, provide another route to documentation and support for your users. (Show Start Using Module was removed together with the Learn & resources section of Home.)
Hiding a visual entry point is not an access-control rule. Manage report permissions separately through Access Control List.
Choose the report cards shown on Home
Sample pages configures the cards under Home > Report templates.
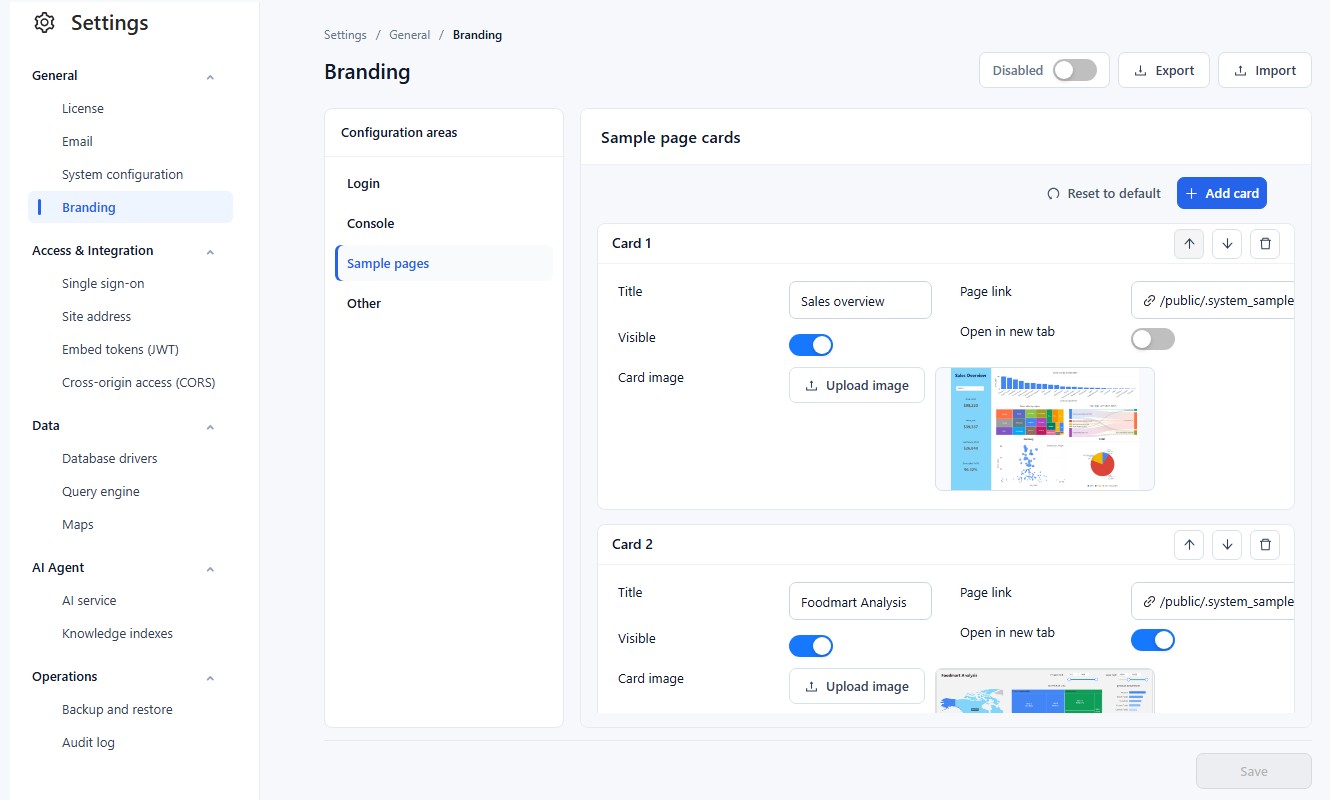
To add a useful starting point for your audience:
- Make the report available in Public, with the permissions its intended readers need.
- Open Sample pages and select Add card. The editor supports up to 10 cards, including hidden cards.
- Enter a short Title that explains the report's purpose.
- Choose its Page link from the resource picker. The picker browses accessible resources under Public; this is not a free-text external website URL field.
- Upload a Card image. This is a thumbnail, not a live report preview; replace it when the report's appearance changes.
- Turn Visible on, and choose whether to Open in new tab. Use the up/down arrows to arrange the cards.
- Click Save, open Home, and test the card with a representative reader account.
A card links to a resource; it does not grant permission to open the report or query its data. An administrator's successful test is not sufficient evidence that readers can use it.
Turn Visible off to keep a card configured without showing it. The delete control removes the card configuration, not the linked report. To hide all template cards, turn their visibility off rather than deleting every card: an empty card configuration falls back to the built-in samples.
Set browser defaults
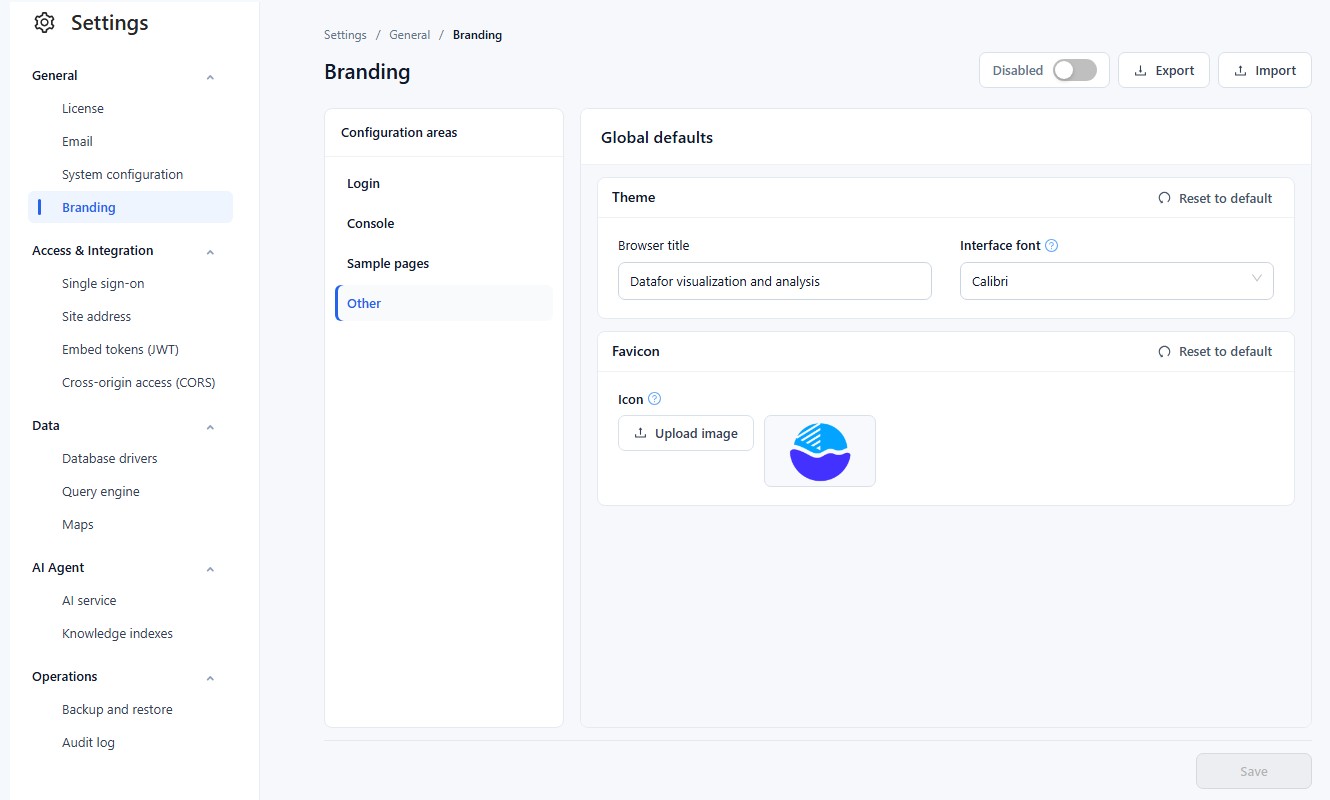
Under Other:
- Browser title sets the default tab title. When a resource is open, its own title may take precedence.
- Interface font sets the font of the console and the editor, chosen from a list. It does not affect report fonts; the default font of new reports is set in System Configuration. See Fonts.
- Favicon → Icon replaces the browser-tab icon. Use a simple symbol that remains recognizable at browser-tab size.
Reuse or restore a configuration
Export and import
Use Export to download the saved configuration for backup or reuse. Save intended changes before exporting them.
Import accepts a ZIP configuration package. Selecting the file starts the import immediately; it is not held as a form draft until you click Save. Export the destination's current configuration first, and import only a package you trust and intend to use there.
After a successful import, check the main enable switch, reload the console, and review all four areas. When moving between environments, confirm that linked reports exist at the expected paths and that users can access them.
Reset to default
Each Reset to default button resets its own group of settings. For example, resetting Login Branding does not reset its Background or the Console settings. The reset changes the form first; click Save to keep it.
Reset means “use product defaults,” not “restore my previously saved custom values.” To discard unsaved edits, leave the page and choose to discard them. To recover a previous custom design after saving changes, use your exported configuration.
Check before rollout
- Open the login page in a separate signed-out browser session. Check the logo, background, footer link, field focus, and button hover states.
- Check Home, then expand and collapse the sidebar. Confirm that the logos and active-menu text remain readable.
- Verify the Home heading, browser title, help menu and report cards independently.
- Open each visible card as an intended reader, including any required report filters or data-access restrictions.
- Test a narrower window and a second browser or device for clipping, font fallback, and unreadable text.
If saved branding does not appear, first confirm that the main switch is Enabled, then reload the affected page. If only an image or favicon is stale, test in a fresh browser session to distinguish cached assets from an incorrect configuration. If a selected image never appears in the editor, check its format and file size.
For embedding and authentication, continue with SDK Embedding and SSO for Embedded Analytics. Branding changes the surrounding experience; embedding, authentication, and permissions still need their own configuration.