
Appearance
Working with Tables and the Canvas
The Data panel controls which source objects enter the model. The canvas shows those objects and their relationships.
Add and locate tables
- Select a Datasource and Schema.
- Search for the required table.
- Click its add control, double-click it, or drag it onto the canvas.
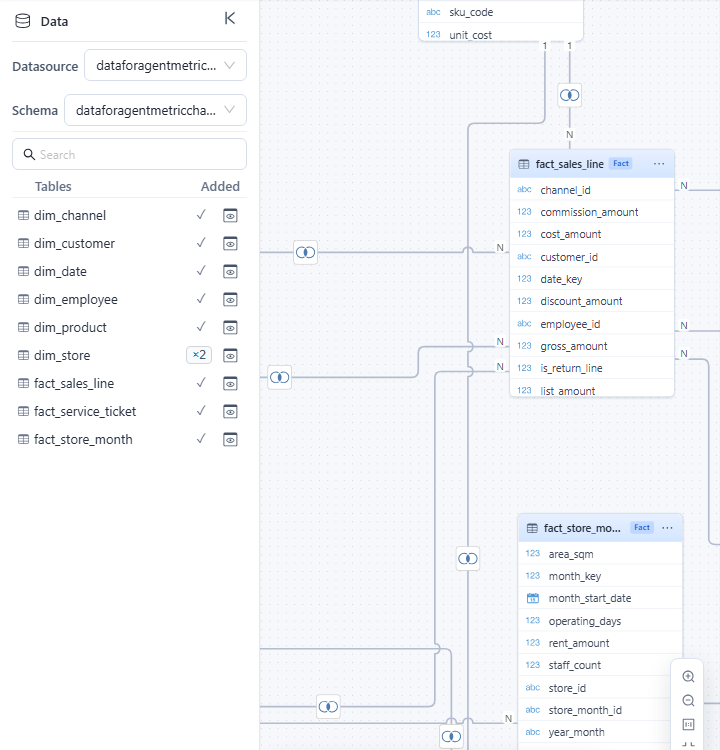
A check mark means the table is already in the model. A count such as ×2 means that the same source table has been added with multiple aliases. Select the table entry to locate a specific alias on the canvas.
Preview source data
Click the preview control in the Data panel, or select Preview data from a table menu. The preview displays the first 50 rows available to the current user.
Use the preview to verify:
- Join keys contain the expected values.
- Date and numeric columns have the expected source types.
- Candidate unique keys do not contain obvious duplicates or nulls.
Use the table menu
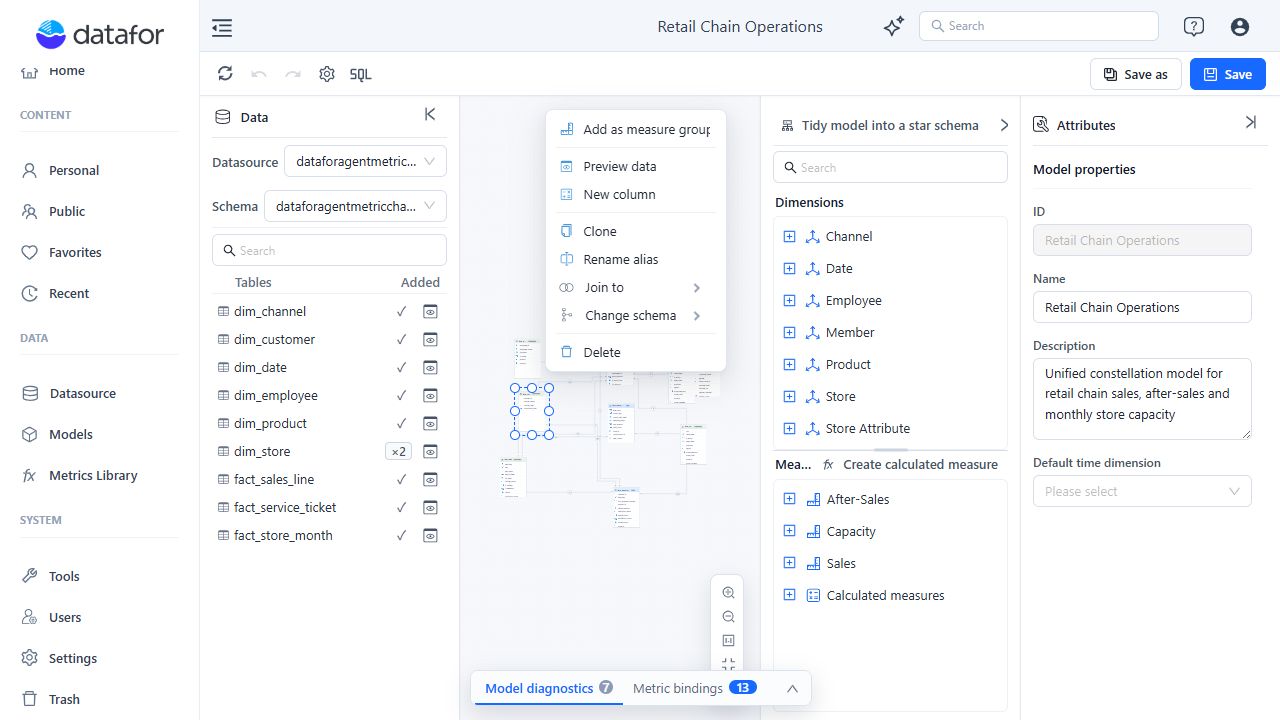
Depending on the selected table, the menu can include:
| Action | Result |
|---|---|
| Add as dimension | Generates a Dimension from the table when one does not exist. |
| Add as measure group | Generates Measures from eligible numeric fields and adds Fact Count. |
| Preview data | Opens a sample of the source rows. |
| New column | Creates a row-level calculated column with a datasource SQL expression. |
| Clone | Adds another model instance of the same source table with a different alias. |
| Rename alias | Changes the model alias without renaming the source table. |
| Join to | Starts a relationship with another table. |
| Change schema | Changes the schema stored for a physical table. Verify that the same table and required fields exist in the target schema. |
| Delete | Removes the table and its dependent model objects. |
Changing schema takes effect without a confirmation dialog and does not verify table or field compatibility.
Deleting a table, from its menu or with the Delete key on the canvas, opens a Delete table? confirmation that lists what will be removed: the table and the number of relationships, Dimensions, and Measure Groups built on it. Press Ctrl+Z to undo the deletion. Review calculated measures and enterprise metric bindings after deletion: Undo restores the editor state, but it does not restore changes already written to the external Metrics Library registry.
Create or edit a SQL View
Click SQL in the toolbar to enter a View Name and SQL Expression, then use Check and preview before adding the result to the model draft.
Editing an existing SQL View rebuilds its model table. Existing relationships, Dimensions, and Measure Groups are removed from the draft, and default semantic objects are generated again. Review the complete workflow and safeguards in Creating SQL Views before confirming an edit.
Select tables and fields on the canvas
Clicking on the canvas selects the model objects built on what you click, and the properties pane shows them:
| You click | Selected |
|---|---|
| A table card | The Dimension(s) and the Measure Group built on that table. |
| A field | The Attribute that uses it as key, caption or sort column, or the Measure built on it. A field that is both shows the Measure, with the dual-role hint. |
| A table or field that is not modeled | A read-only Table properties or Field properties pane with the Table alias and Field, and the note "This table is not modeled as a dimension or measure group." or "This field is not modeled as a dimension attribute or measure." An unmodeled field also highlights its table's objects in the model tree. |
Key columns show a grey PK badge after the field name ("Primary key (defined in the database)"). A darker line marks the end of a composite key.
Navigate a large canvas
Use the controls in the lower-right corner to:
- Zoom in or out.
- Return to actual size.
- Fit the whole model into the available space.
- Show or hide the minimap.
Use the minimap to move quickly between distant parts of a large model.
Tidy semantic roles
Tidy model into a star schema uses the currently configured relationship cardinalities and semantic objects to preview a cleanup:
- A fact-like table can lose its Dimension.
- A dimension-like table can lose its Measure Group.
- Ambiguous tables remain unchanged.
The operation does not retest key uniqueness, create relationships, choose join fields, or rearrange the canvas. It can remove bound Measures or leave calculated measures with missing references, so review every proposed removal and validate the result before saving.
If the cleanup removes bound Measures, the modeler requests that their enterprise metrics be unbound. Verify Metric bindings after applying or undoing the cleanup: Undo can restore the editor model, but it cannot restore external Metrics Library registry changes.
See Tidy Model into a Star Schema for the required pre-checks and post-apply validation.