
Appearance
How to Enable the AI Feature
This guide explains how to enable the AI feature in the Datafor application. The steps vary depending on whether you are using Nginx as a reverse proxy or accessing the AI service directly.
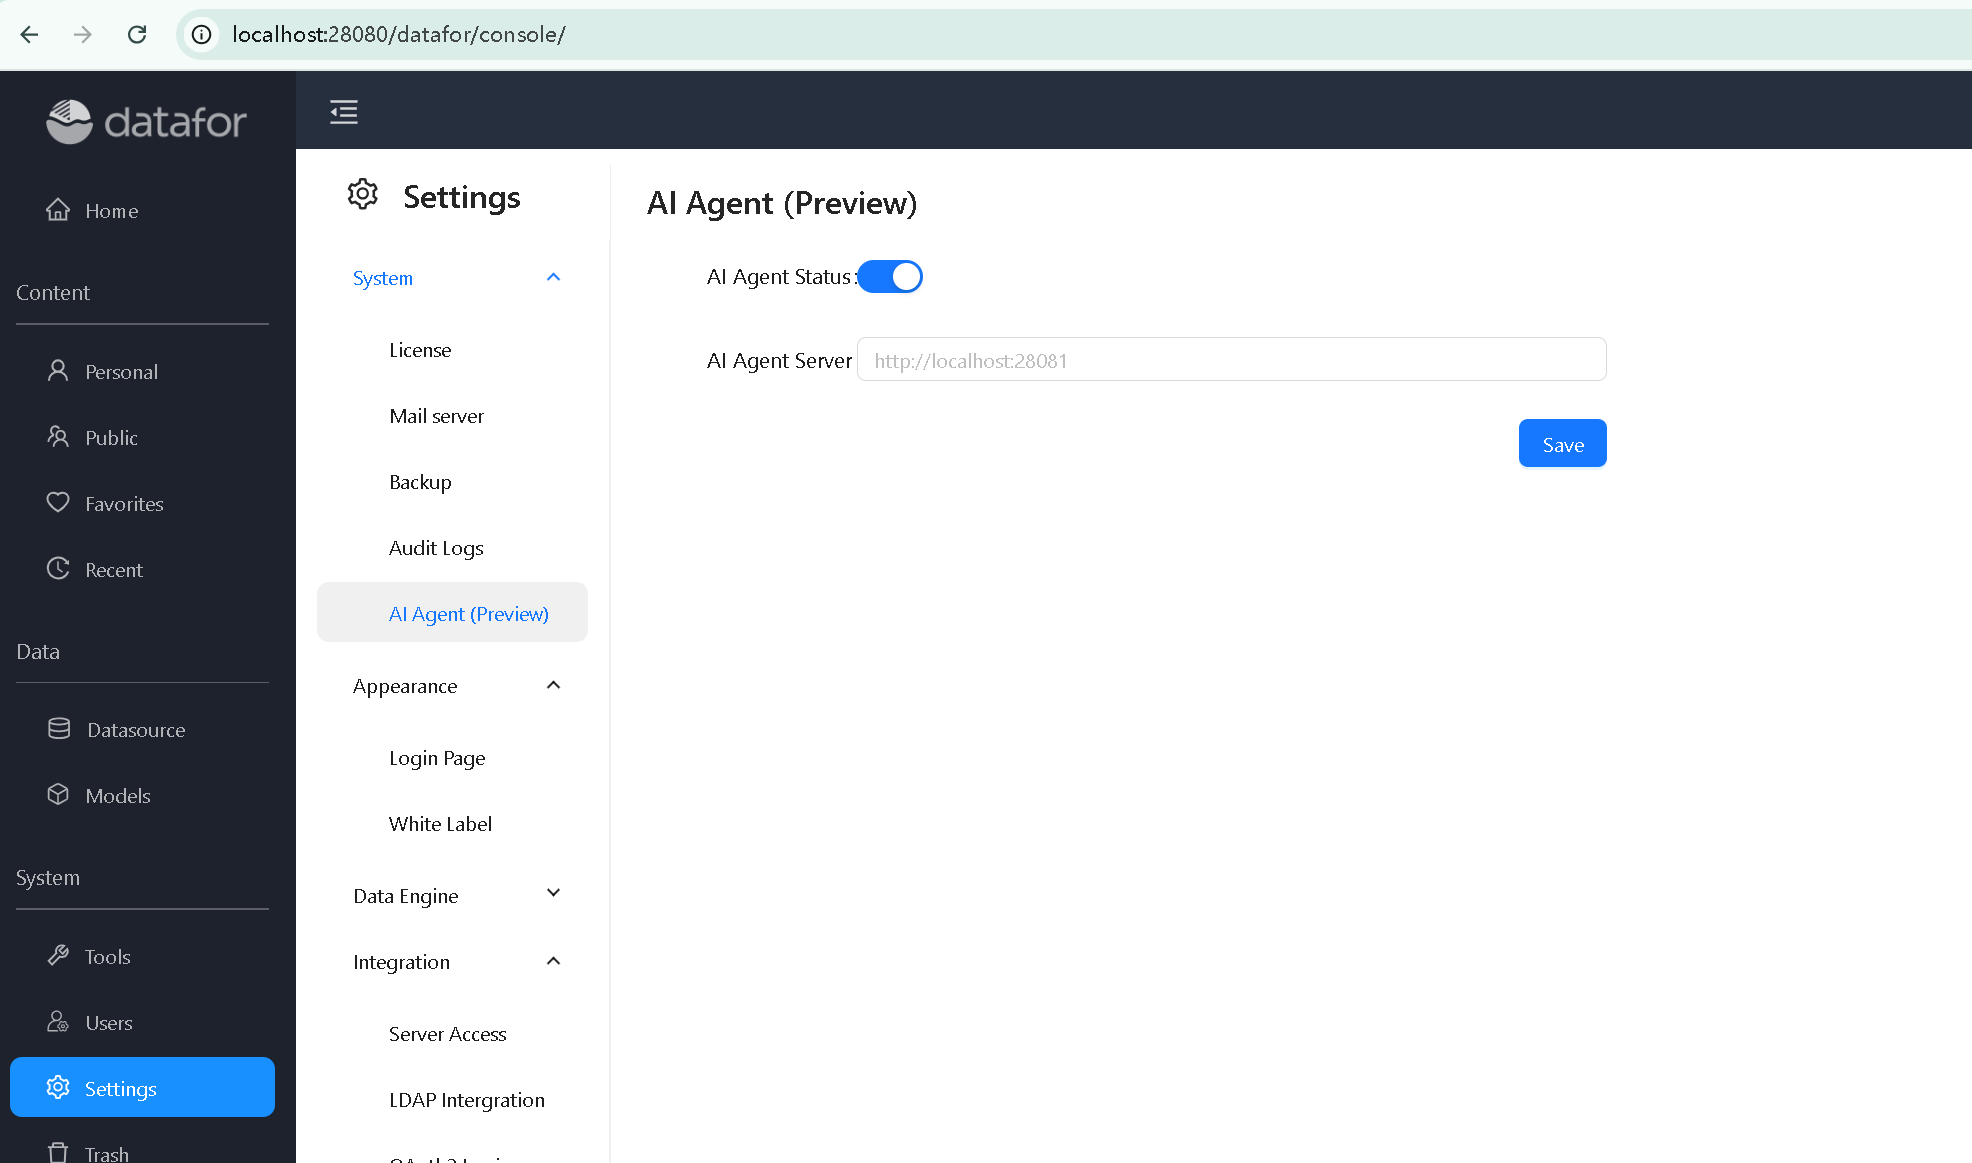
1. Enable the AI Agent in Datafor
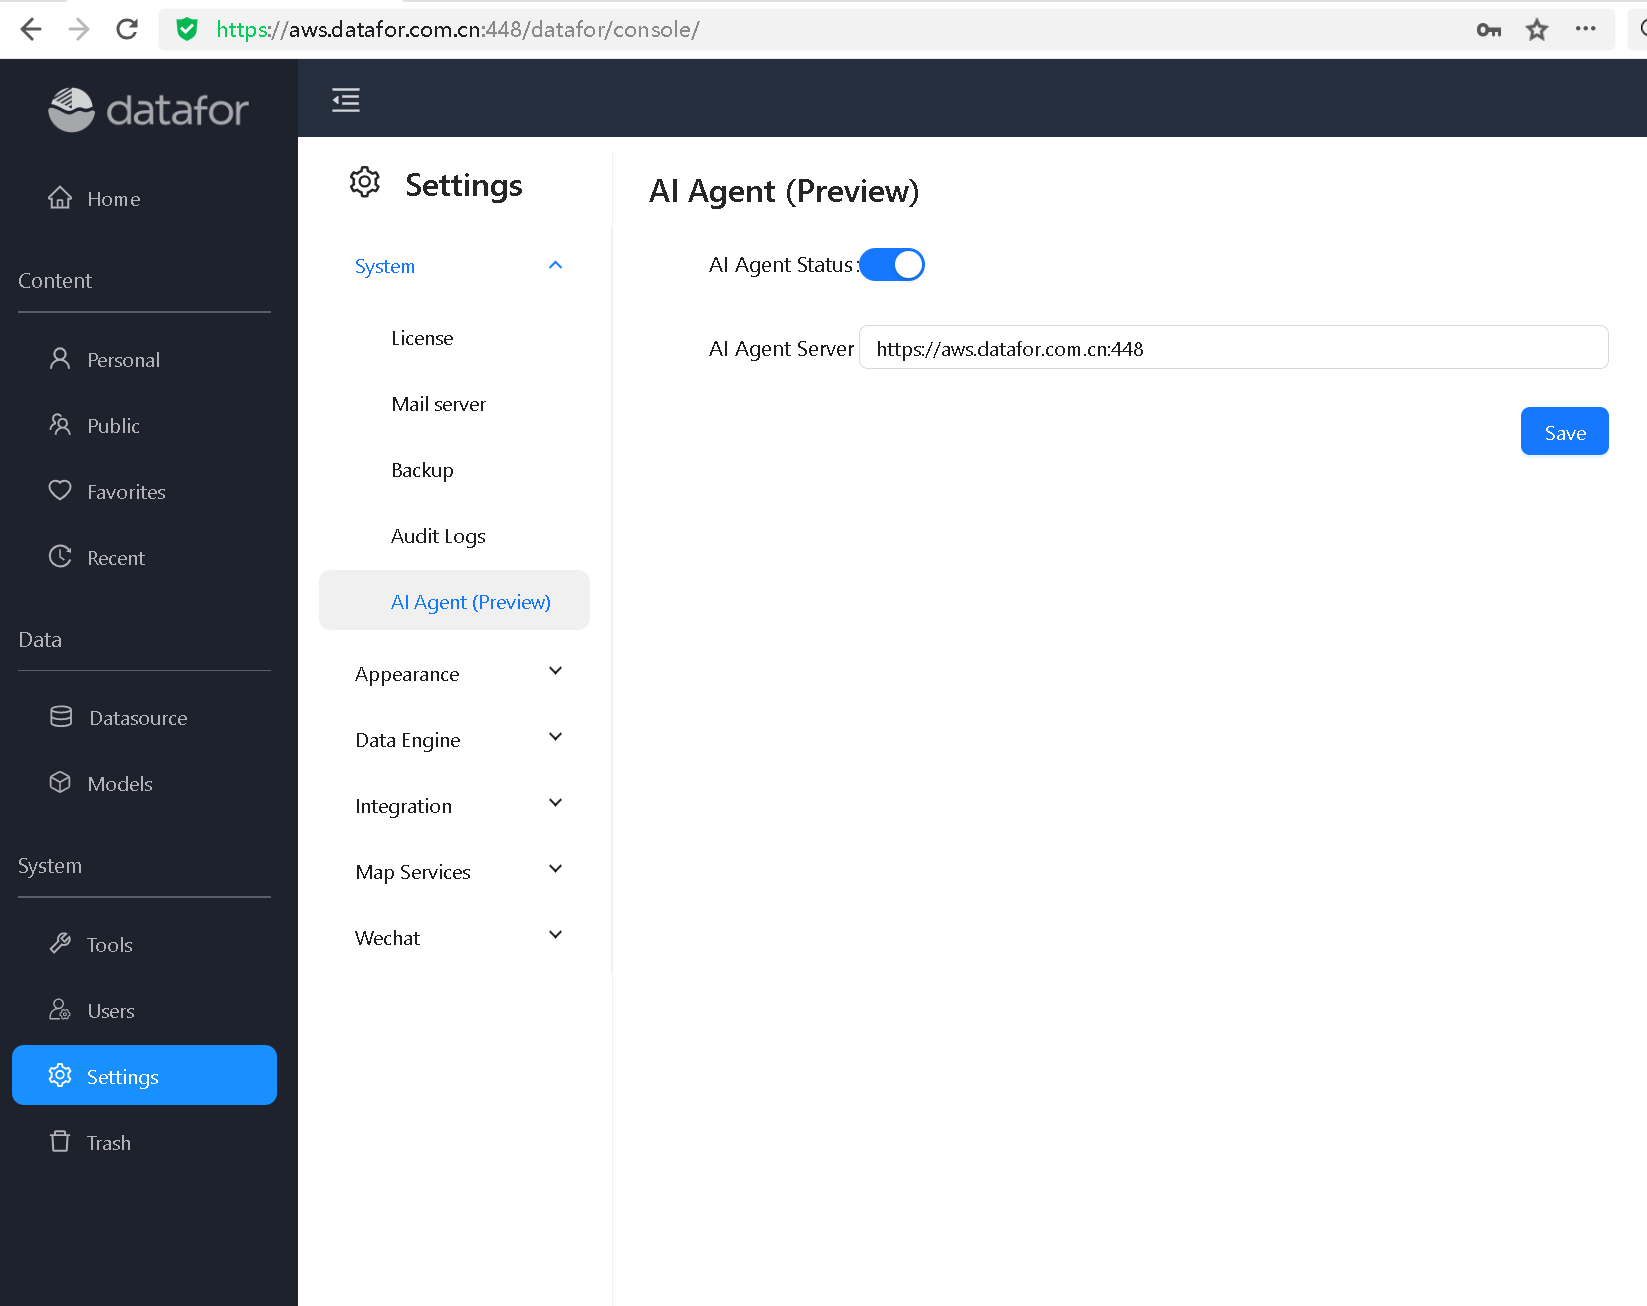
In the Datafor console, go to: Settings → System → AI Agent (Preview)
Switch AI Agent Status to On.
Click Save.
2. Without a Proxy
If you are not using a reverse proxy (such as Nginx), you can keep the default configuration.
- The AI Agent Server should be set to the
Fully Qualified Server URL(up to but not including the port) with port 28081 appended.
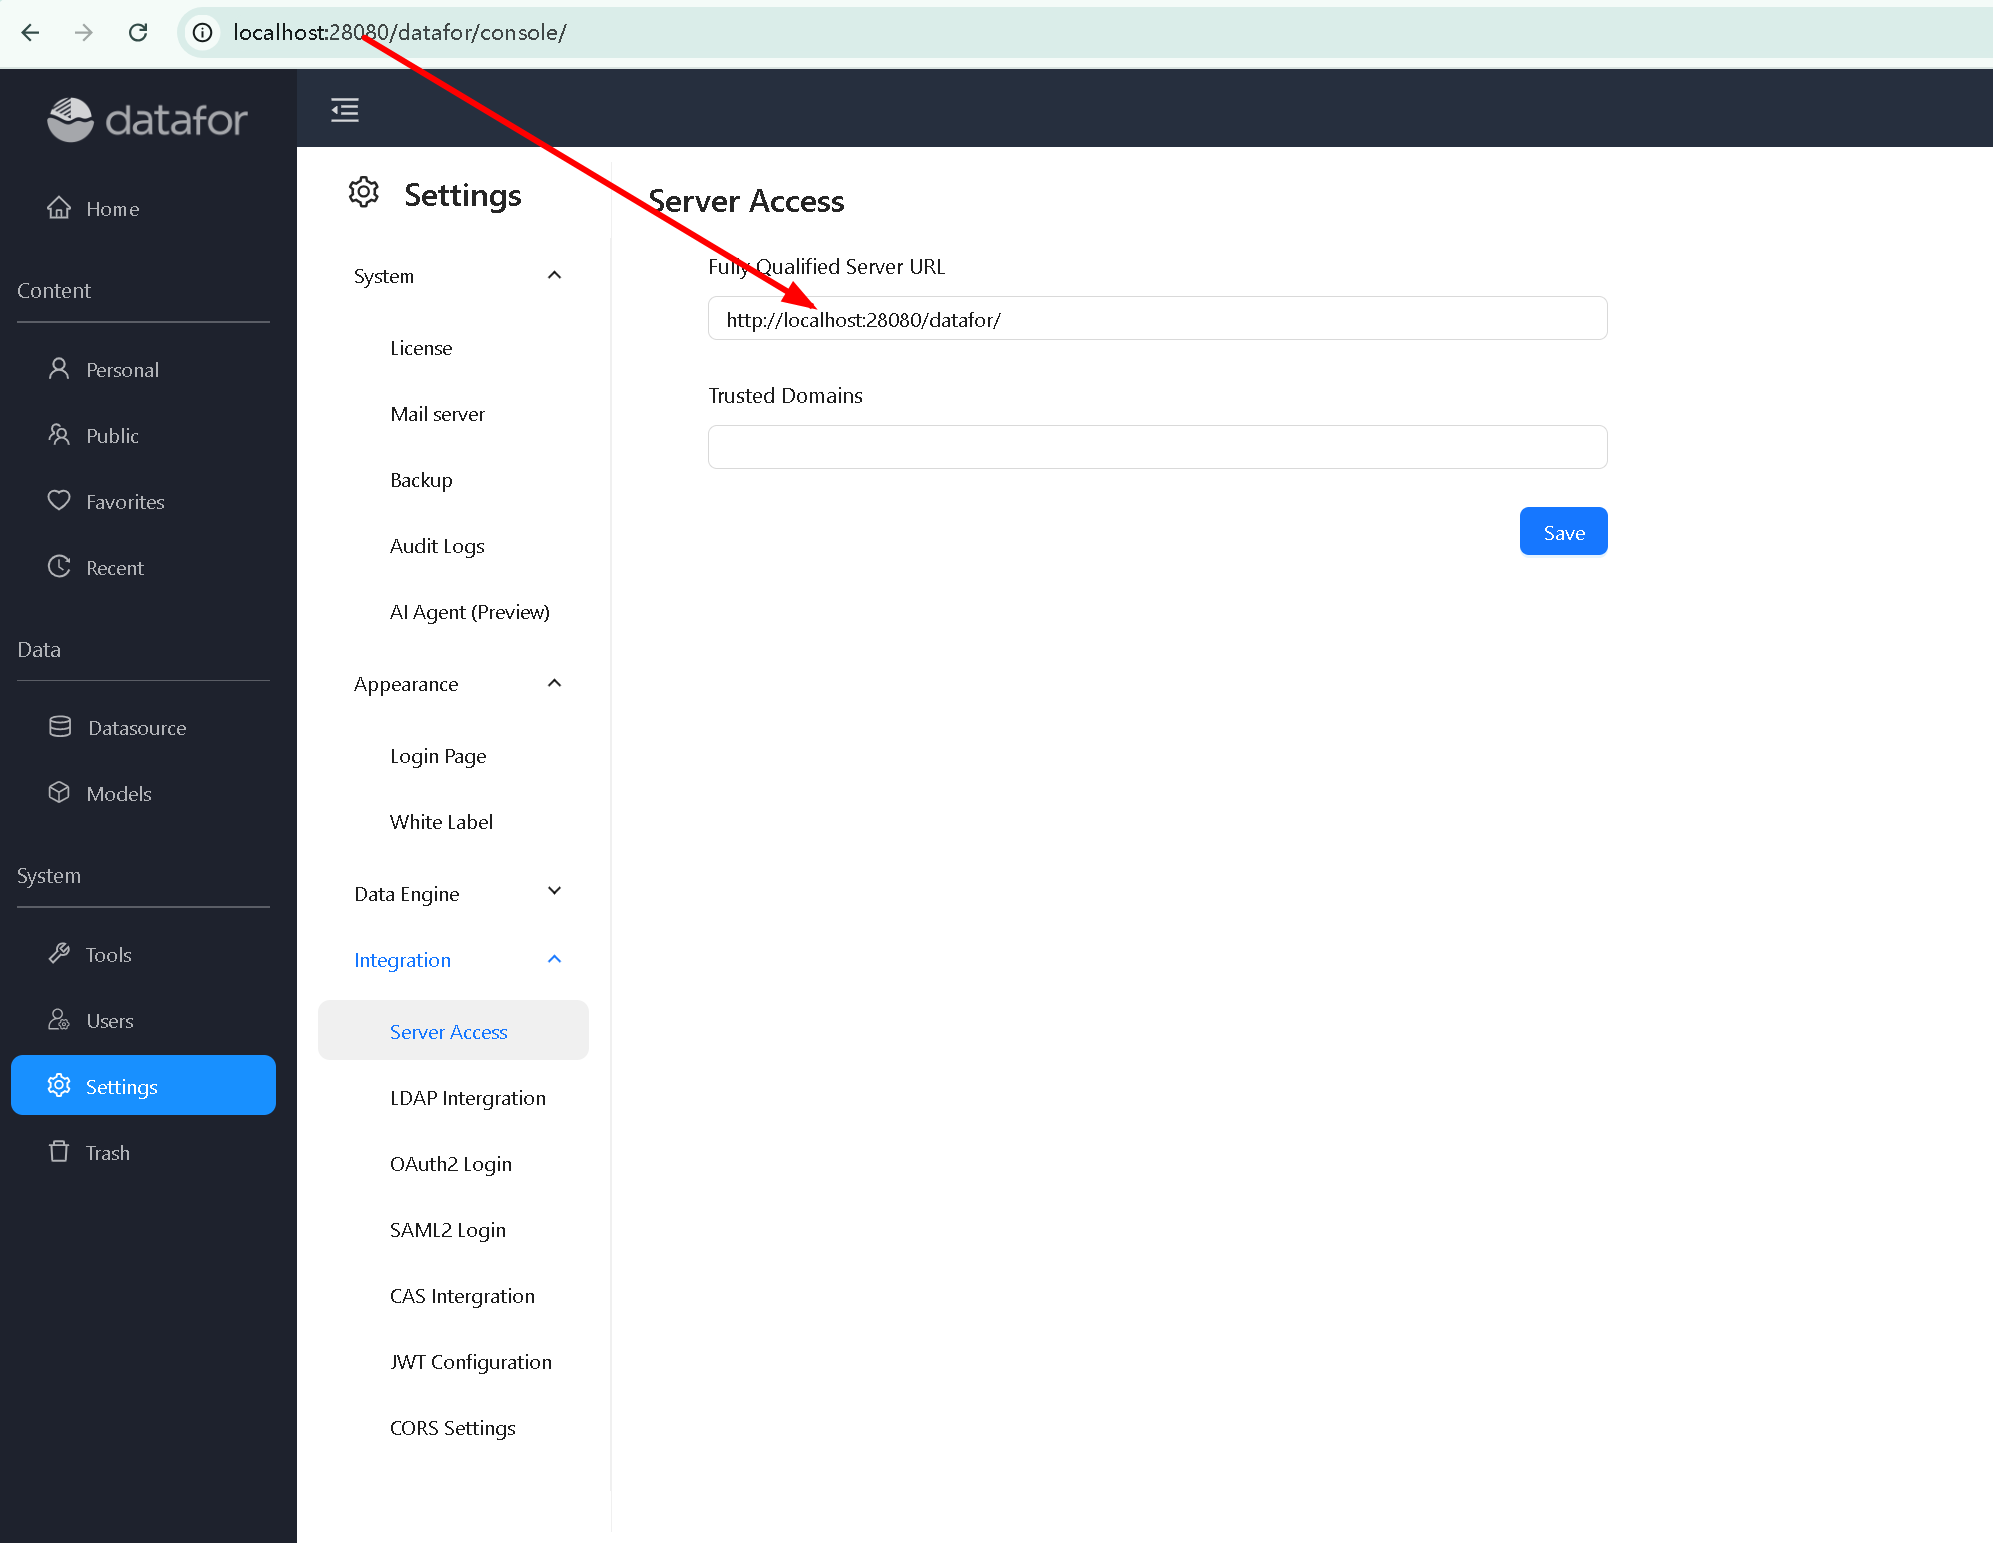
- If your configuration uses
localhost, replace it with your actual server IP address. - Ensure that port 28081 is open and accessible from client machines. Clients must be able to connect directly to the AI Agent service on this port.
3. Using Nginx as a Reverse Proxy
If you are using Nginx as a reverse proxy, add the following block to your configuration to support AI features:
location ~ ^/(chat|llm|configure|prompt|user) {
    client_max_body_size 1000m;
    client_body_buffer_size 128k;
    fastcgi_intercept_errors on;
    proxy_pass http://localhost:28081;
    proxy_redirect http:// https://;

    proxy_set_header Host $host:$server_port;
    proxy_set_header X-Real-IP $remote_addr;
    proxy_set_header X-Real-PORT $remote_port;
    proxy_set_header X-Forwarded-For $proxy_add_x_forwarded_for;
    proxy_set_header X-Forwarded-Proto $scheme;
}
Notes:
client_max_body_size 1000m;allows large payloads required for AI operations.proxy_passshould point to your backend AI service (e.g.,http://localhost:28081).- The header settings ensure that client and protocol information is correctly forwarded.
When using Nginx, set the AI Agent Server Address to the proxy URL.
4. Completion
After completing these steps, the AI feature in Datafor will be enabled successfully, whether you are accessing the service directly or through Nginx.