
Appearance
Image
Overview
The Image component allows users to display images in reports or dashboards. It supports uploading local image files and provides styling customization options such as borders, shadows, and rounded edges.
1. How to Add an Image
- Select the Image component.
- In the right panel, click the "Select file" button.
- Choose an image file from your computer.
- Once uploaded, the image will appear in the component, filling the designated area by default.
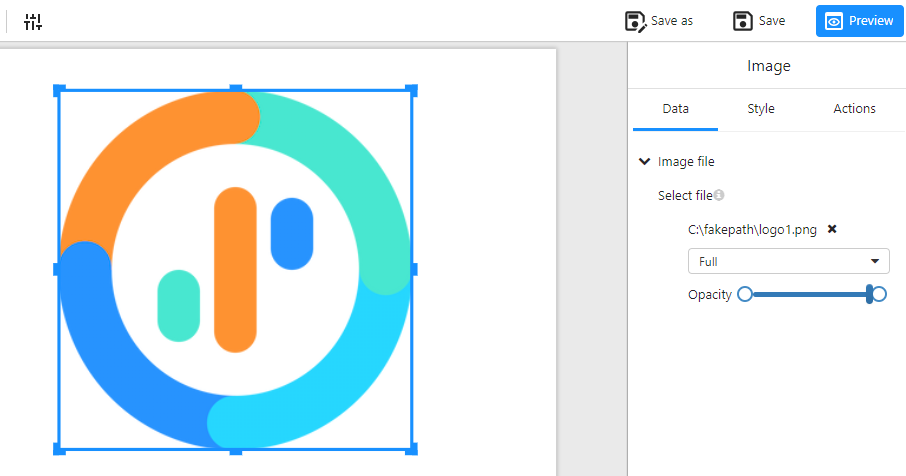
2. Data Settings
In the “Data” tab, you can configure the following settings:
Image file: Upload or replace the image file.
Display mode:
- Full (default): The image fully fills the component area.
- Fit: Maintains the original aspect ratio while fitting within the component.
Opacity: Adjust the image transparency using a slider.
3. Style Settings
In the “Style” tab, you can customize the image’s appearance:
3.1 Border Settings
- Border style: Modify the border width, color, and style (solid, dashed, etc.).
- Shadow: Enable or disable shadow effects around the image.
- Round edges: Adjust the border radius to make the corners rounded.
3.2 Image Description
- Content: Add a text description for the image.
- Font: Customize the text font, size, color, bold, and italic styles.
- Y offset: Adjust the vertical position of the description text.
4. Actions
- Click actions: Set an action when the image is clicked, such as navigating to a URL.
5. Important Notes
- Ensure the image size is optimized for clarity in reports.
- Large image files may impact loading speed; consider compressing them if necessary.
- When using PNG images with transparency, adjust Opacity to achieve the desired visual effect.